Python & Backend
1 min read
👁 60 views
How to Use pip and requirements.txt Like a Pro (After Venv)
Learn how to install, freeze, and manage Python packages with pip and requirements.txt after creating your virtual environment.

Reghan
August 18, 2026
Hello friends, I will try as much as I can to make this brief and simple.
Outline:
1. Intro
You created a venv — great! But an empty venv does nothing. This is where pip comes in.
2. Make sure pip is using your venv
# Activate first
source venv/bin/activate  # Windows: venv\Scripts\activate
which python
pip --version
3. Installing packages
pip install requests pandas numpy
pip install requests==2.31.0  # pinned version
4. Why you need requirements.txt
Without it, anyone cloning your project won't know what to install.
5. Create it
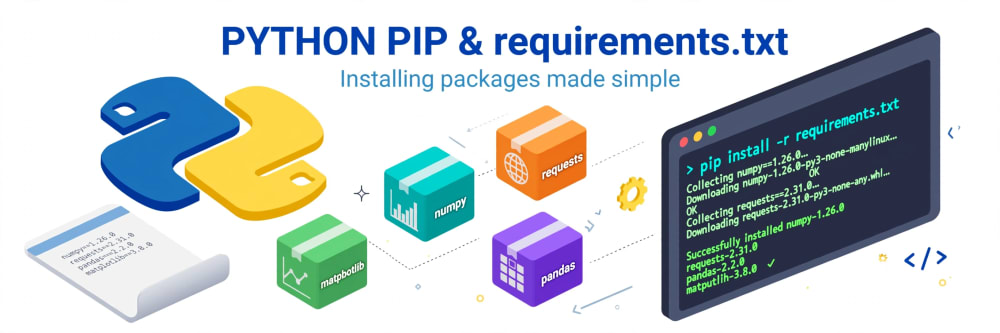
pip freeze > requirements.txt
Example requirements.txt:

Code
numpy==1.26.0
requests==2.31.0
pandas==2.2.0
matplotlib==3.8.0
6. Install from it (on a new machine)
pip install -r requirements.txt
7. Pro Tips:
-
Separate requirements-dev.txt for dev tools
-
Use pip install -r requirements.txt --upgrade
-
Don't manually edit versions from pip freeze unless you need to
// Comments (2)
Log in or register to join the discussion.
Very educational and easy to follow guidelines
Thanks for the enlightenment. Looking forward to reading more in this topic.
Thank you so much! 🙏 Glad it was easy to follow.
Which part helped you the most? I’m writing more on Python and Flask in the coming week. Stay tuned!